Pseudocode syntax highlighting plug-in
While working with pseudocode, I was disappointed by the lack of an editor (that uses CAIE syntax). So I built my own plugin for the popular editor Notepad++.
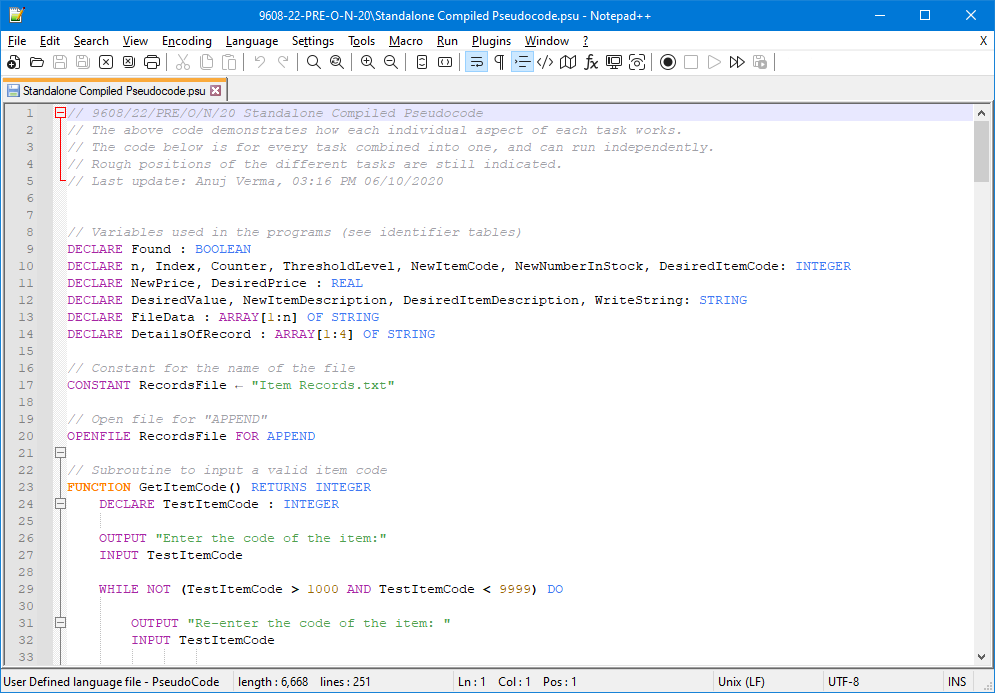
Notepad++ is a text editor and source code editor for use with Microsoft Windows. Notepad++ makes it possible to define “languages”, or more precisely, highlighting schemes (UDLs). This pseudocode plug-in is a custom-defined-language that provides syntax highlighting. It has been built for the Computer Science syllabuses of Cambridge International Assessment Education, specifically A Level 9608 and IGCSE 0478.
Installation
- Download and install Notepad++
- Install the Pseudocode Library
- Change settings (optional)
- Set Notepad++ as the default application for pseudocode files (optional)
Download and install Notepad++
-
Download Notepad++ from its official website.
-
Install the software to your computer. Follow the instructions shown on the installer window. You might need administrator access to your computer system. Follow this WikiHow tutorial for further assistance.
Take note of the install location of the application. You may need this later. It should normally be
C:\Program Files\Notepad++\. -
Restart your system after installing the application
Install the Pseudocode Library
-
Download the ZIP folder that has the installation files, and then extract them. You should find five files, which you’ll use for the installing my plug-in in Notepad++.
- Launch Notepad++
- Click on the Define your language option under the Language menu. This should bring up a language editor window.
- Click Import…
- Locate the
Pseudocode Add-in.xmlfile and click Open - You should get a pop-up informing you that the import was successful. Close it by clicking OK.
- Close the language editor window using the ‘cross button’ on the top-right corner of the window.
- Close the Notepad++ application
- Navigate to the install folder of Notepad++. Go to
/autoCompletion(create it if it doesn’t exist). - Copy the
Pseudocode.xmlfile into this folder. You may need administrator access to your computer system. - Restart the Notepad++ application
- Click on the Language menu. If
PseudoCodeappears on the list, the add-on has successfully been imported.
Change settings (optional)
Notepad++ ships with settings aimed at programmers and you might not be comfortable with these. Follow the steps below to change them, if that is the case.
- Launch Notepad++
- Click the Preferences option under the Settings menu. This should open a new window
- Under the Editing preferences set the Line wrap option to
Aligned - Under the Language preferences set the Tab Settings so that the Tab Size is
4and the Replace by space checkbox is checked - Under the Print preferences, make sure the Print line number checkbox is checked
- Click Close to exit.
- Restart the Notepad++ application
Set Notepad++ as the default application for pseudocode files (optional)
Pseudocode files are saved with the file extension .psu. Since you are not likely to have another editor for pseudocode, it is recommended to set Notepad++ as the default application to use pseudocode files.
- Download the file
Pseudocode Syntax.psuto your computer - In File Explorer, select the file, right-click on it and click Properties
- Click the Change button
- You should see Notepad++ as an option; click on it. If not, follow these instructions
- Click More apps
- Scroll to the bottom and click Look for another app on this PC
- Navigate to the install location of Notepad++
- Open
notepad++.exe
- Click Apply followed by OK
- Open
Pseudocode Syntax.psuby double-clicking it in the File Explorer. You should see a file similar toColouring Scheme and Syntax.pdf.